Mission: Here at the Keweenaw Mountain Lodge, we were working on getting a two cameras: 1) an all-sky camera / webcam, and 2) a Northern Lights camera / webcam, as part of our stargazing activities and to be included in the International Dark Sky Park initiatives. [ Note: This has turned into one camera, as the all-sky camera can also capture the Northern Lights ]
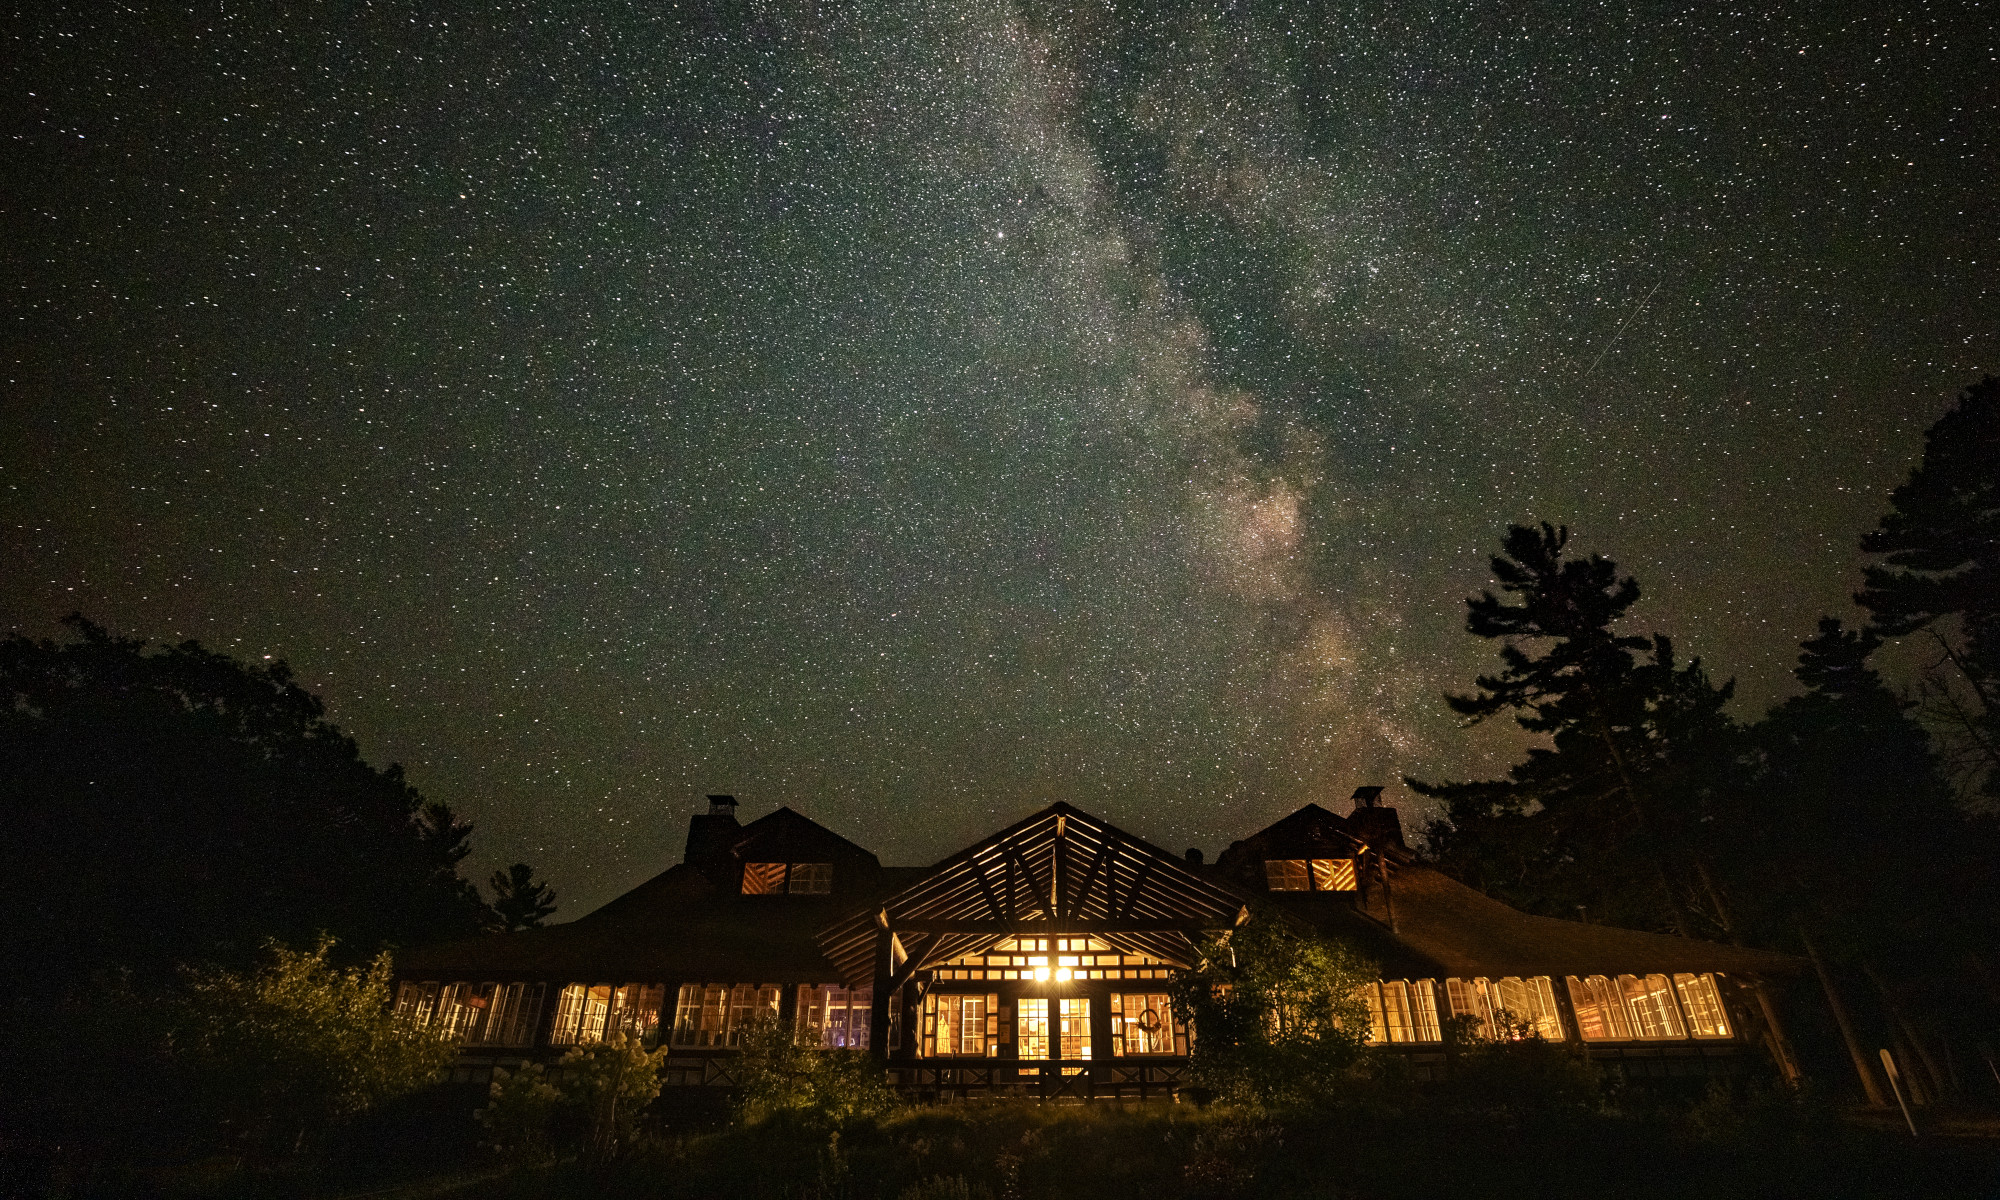
The purpose of these webcams is to show the wonderful night sky for stargazing and be able to show the beauty of the Northern Lights for anyone who has never seen them before, also to use it as a reference tool for those who want to be adventuresome and see them in person.
Webcams’ Placement Proposal
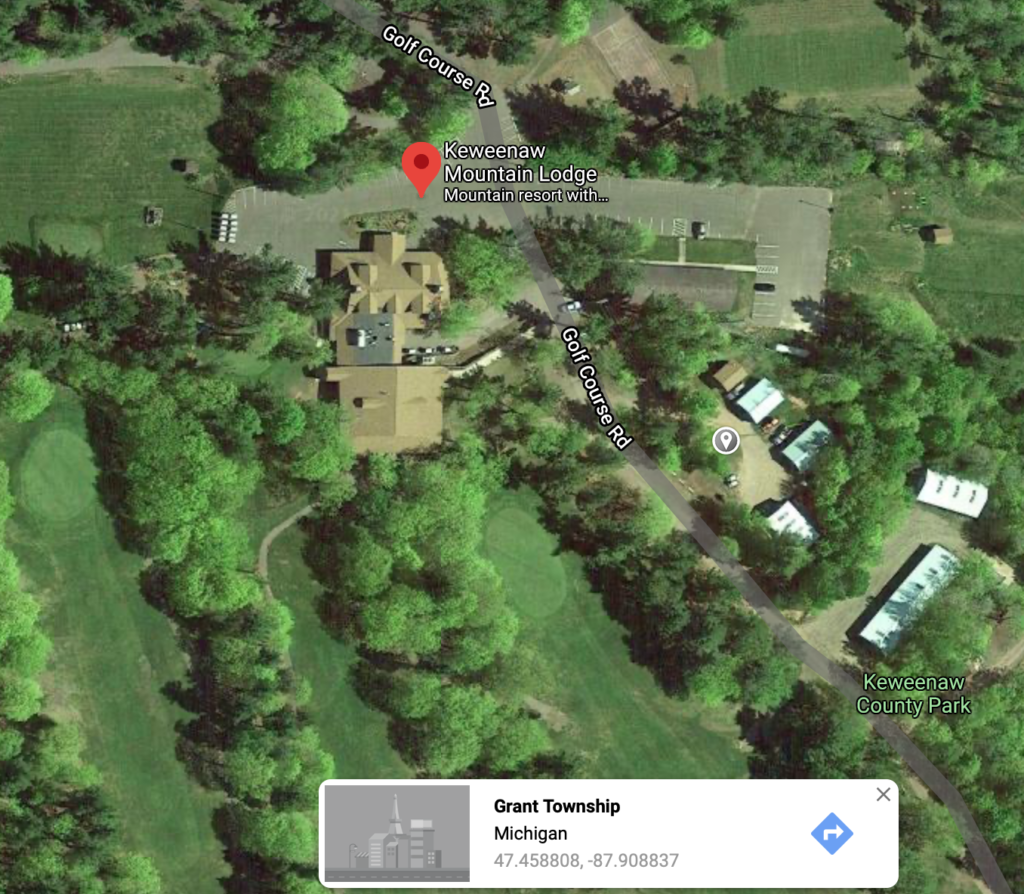
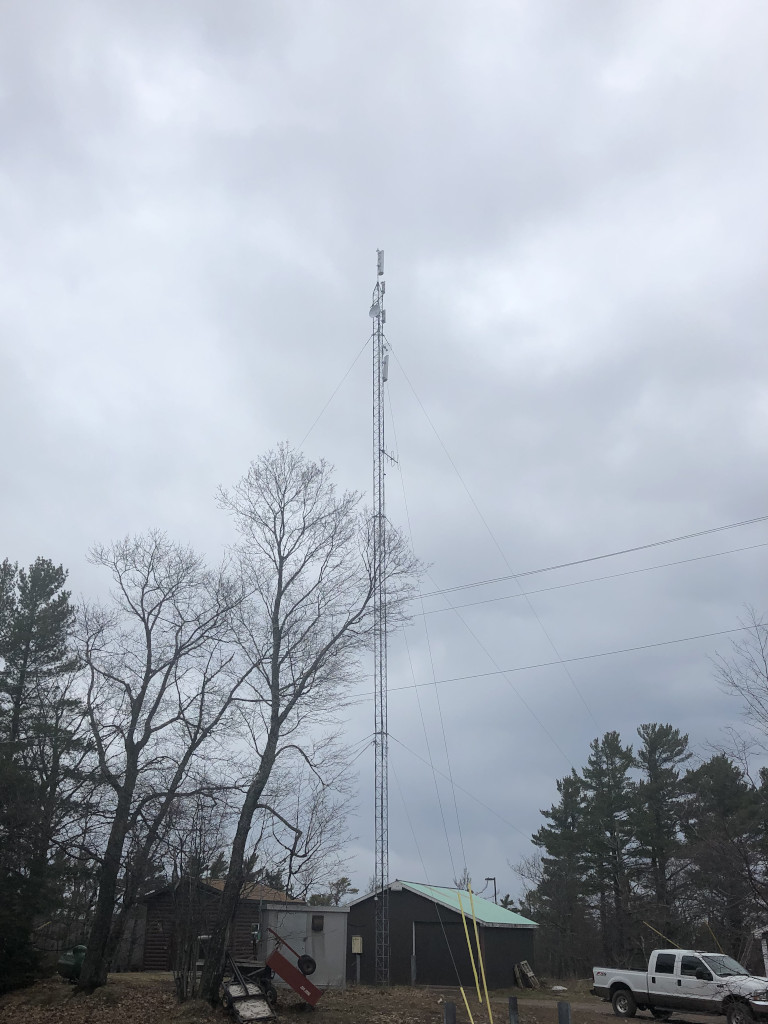
The first camera, the All-Sky camera, is considered to be located at the top of our internet tower, looking directly up so you can have a 360-degree view of the sky and have minimum obstructions blocking the view (trees, cable lines, light pollution, etc). The second camera, the Northern Lights camera, will highlight the Northern Lights activities at the top of the Keweenaw. This camera is considered to be located underneath the first camera on our tower, looking north towards Lake Superior, with a 180-degree view.

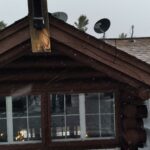
Here is a map showing where the tower is located, along with a picture of the internet tower.
Camera Information and Specs
For a better understanding of what we are working on accomplishing, check out these links:
→ This is a link to the all-sky camera at Poker Flat, Fairbanks, Alaska https://allsky.gi.alaska.edu/
→ This is a link to the all-sky camera at Awbrey Butte, Bend, Oregon
http://cbstarrynights.com/allsky1/index.html
→ This is a link to the Churchill Webcam in Manitoba, Canada https://www.webcamtaxi.com/en/canada/manitoba/churchill-northern-lights.html
For our All-Sky Camera, we are basing the set-up on Thomas Jacquin’s all-sky camera. The equipments he used are listed as the following:
1. ZWO ASI178MC CMOS Astrophotography Camera
2. Arecont Vision MPL 1.55 CS-Mount 1.55mm Fixed Fisheye Lens
3. CanaKit Raspberry Pi 4 4GB RAM Starter Pro Kit
4. USB C Right (90 Degree) Angle Adapter
5. Acrylic dome
6. ABS pipe, end cap, threaded adapter, and plug
7. Silicone sealant
Aurora Info
NOAA’s Current Forecast for the Northern Lights
Note: We are testing how to interface with NOAA’s system. The image below pulls directly from the https://www.swpc.noaa.gov/ site. We will be contacting NOAA to see if this is the best way to provide information to our visitors regarding the Aurora Forecast that they provide.
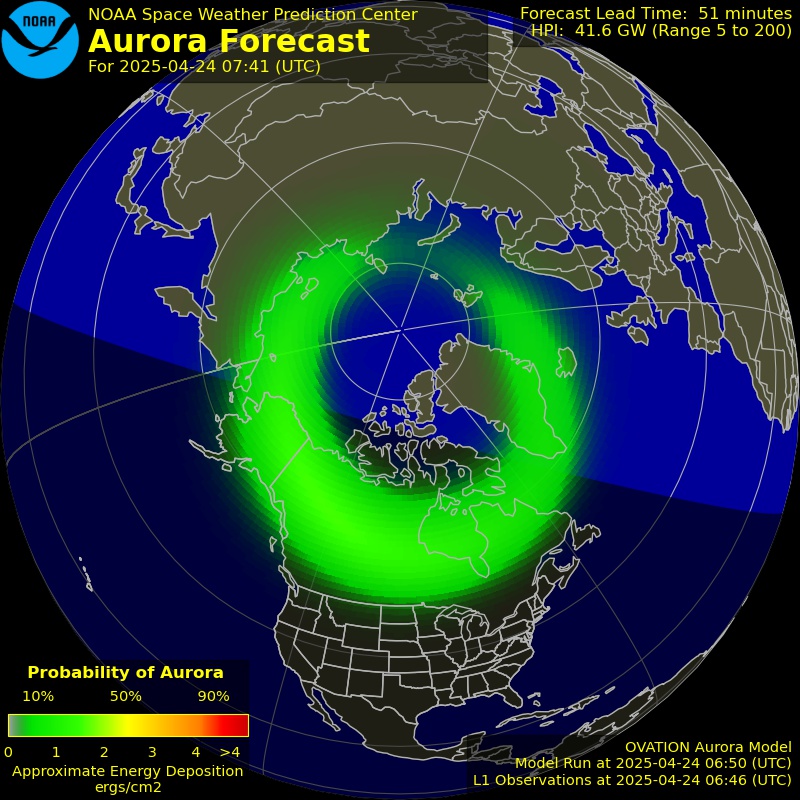
The image above is from NOAA’s Space Weather Prediction Center, and is updated automatically from NOAA’s web site.
All-Sky Camera Detailed Progress
November 13th, 2021 Update
Martin Mueller is working on assembling the all-sky camera. The set-up is Thomas Jacquin’s design that he has shared (see his project page, where he talks about the camera assembly, along with other space related projects that the public can access). This page on the website contains resources, parts, assembly layout, and a Github page for the software aspect of the camera. Another individual made a step-by-step guide video on how to set-up the software on a Raspberry Pi 4. Raspberry Pi 4 is the operating system that we are using to control the camera. Credit to Thomas Jacquin for the design and Patriot Astro for the instruction video.
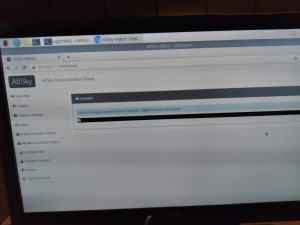
Currently the software set-up on the Raspberry Pi 4 is completed. An online Administration Panel has been created for us to work on the settings of the camera and to provide the functionality to connect the camera to our website.
The next steps are to assemble the camera, connect it to the Raspberry Pi 4, work on the camera settings, connect the panel / camera to our website, and install the camera on the tower.
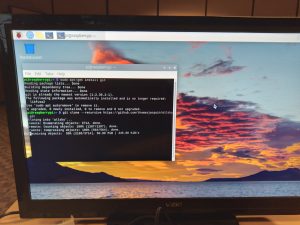
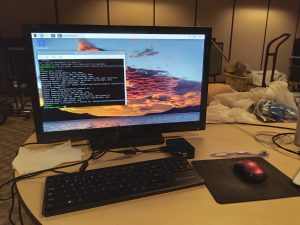
Below are pictures from working on the software and setting up the admin panel.
December 4th, 2021 Update
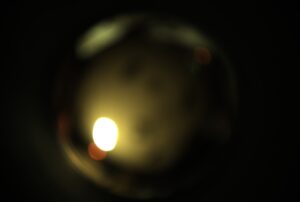
Since yesterday, Martin has been running the Raspberry Pi and camera on to test how they perform and how the images and time-lapse video come out. Suffice to say, the camera was able to take over 100 images and record a ~4:30 minute time-lapse video on the first night. Below are two images taken along with the time-lapse video. They were taken inside of our conference center.
Additional testing and modifications will be conducted in order to find the appropriate performance and image quality before constructing the casing to put the set-up in. More updates coming soon.
December 19th, 2021 Update
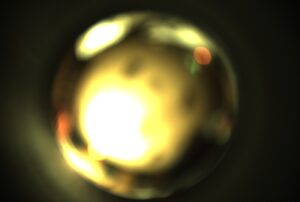
Chris and Martin played around with the camera focus and the images settings to find the desired viewing and image. They figured out how to focus the camera and got a clear video / image.

With the ability to manually focus the camera lens and beginning to understand the camera settings, Martin will being making the case containing the Raspberry Pi and the camera to be able to run tests outside of the building.
April 9th, 2022 Update
During the four month period since the last update, Martin had two main focuses: 1) get copies of the images, time lapse videos, keograms, and star trails uploaded to the website’s database automatically, and 2) get the public viewing link accessible to anyone anywhere.
Getting the copies uploaded to the website’s database required someone who is familiar with navigating in a computer terminal and the database of a website. John joined this portion as he is familiar with such and we also requested the creator of the All-Sky camera kit, Thomas Jacquin to provide guidance. Emails were sent back and forth involving questions for Thomas to answer in order to help John and Martin understand how he set-up the All-Sky application. Thomas provided sources and a glimpse into his application’s set-up for his All-Sky public link as references.
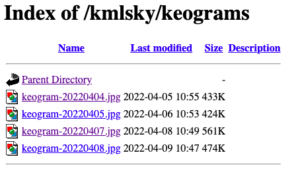
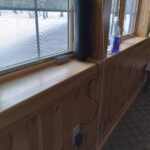
For a while, John and Martin encountered an error where the All-Sky application was not able to access the database to upload the images after each night and somehow no live view image on the public link was appearing at one point. Debugging the code took a few weeks, which half the time took place in Michigan and the other half in Texas when Martin was visiting family during his break. After cleaning up the code and being able to access the website database, they were starting to see results. Below are screenshots of the images successfully being uploaded after each night whenever the camera is running and a time lapse video of the camera slightly looking out from the conference center window. If you actually pay attention to the bottom section of the window in the time lapse video, you would actually see the snow melting throughout the night.


The next step is to assemble the camera casing and place it somewhere on the lodge property to test how it handles the weather. All of the supplies for the casing have been purchased and ready to be assembled.
April 27th, 2022 Update
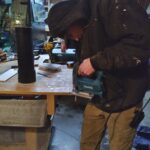
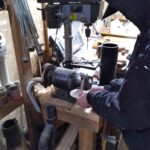
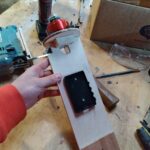
The casing has finally been assembled on April 17th. Martin and Jake from the maintenance team spent about 3 hours sawing, sanding, measuring, glueing, and nailing the entire thing. Many times they had to improvise with the tools that we have available and face obstacles along the way like the small nails not holding the platforms together.


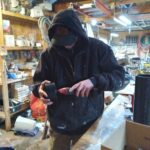

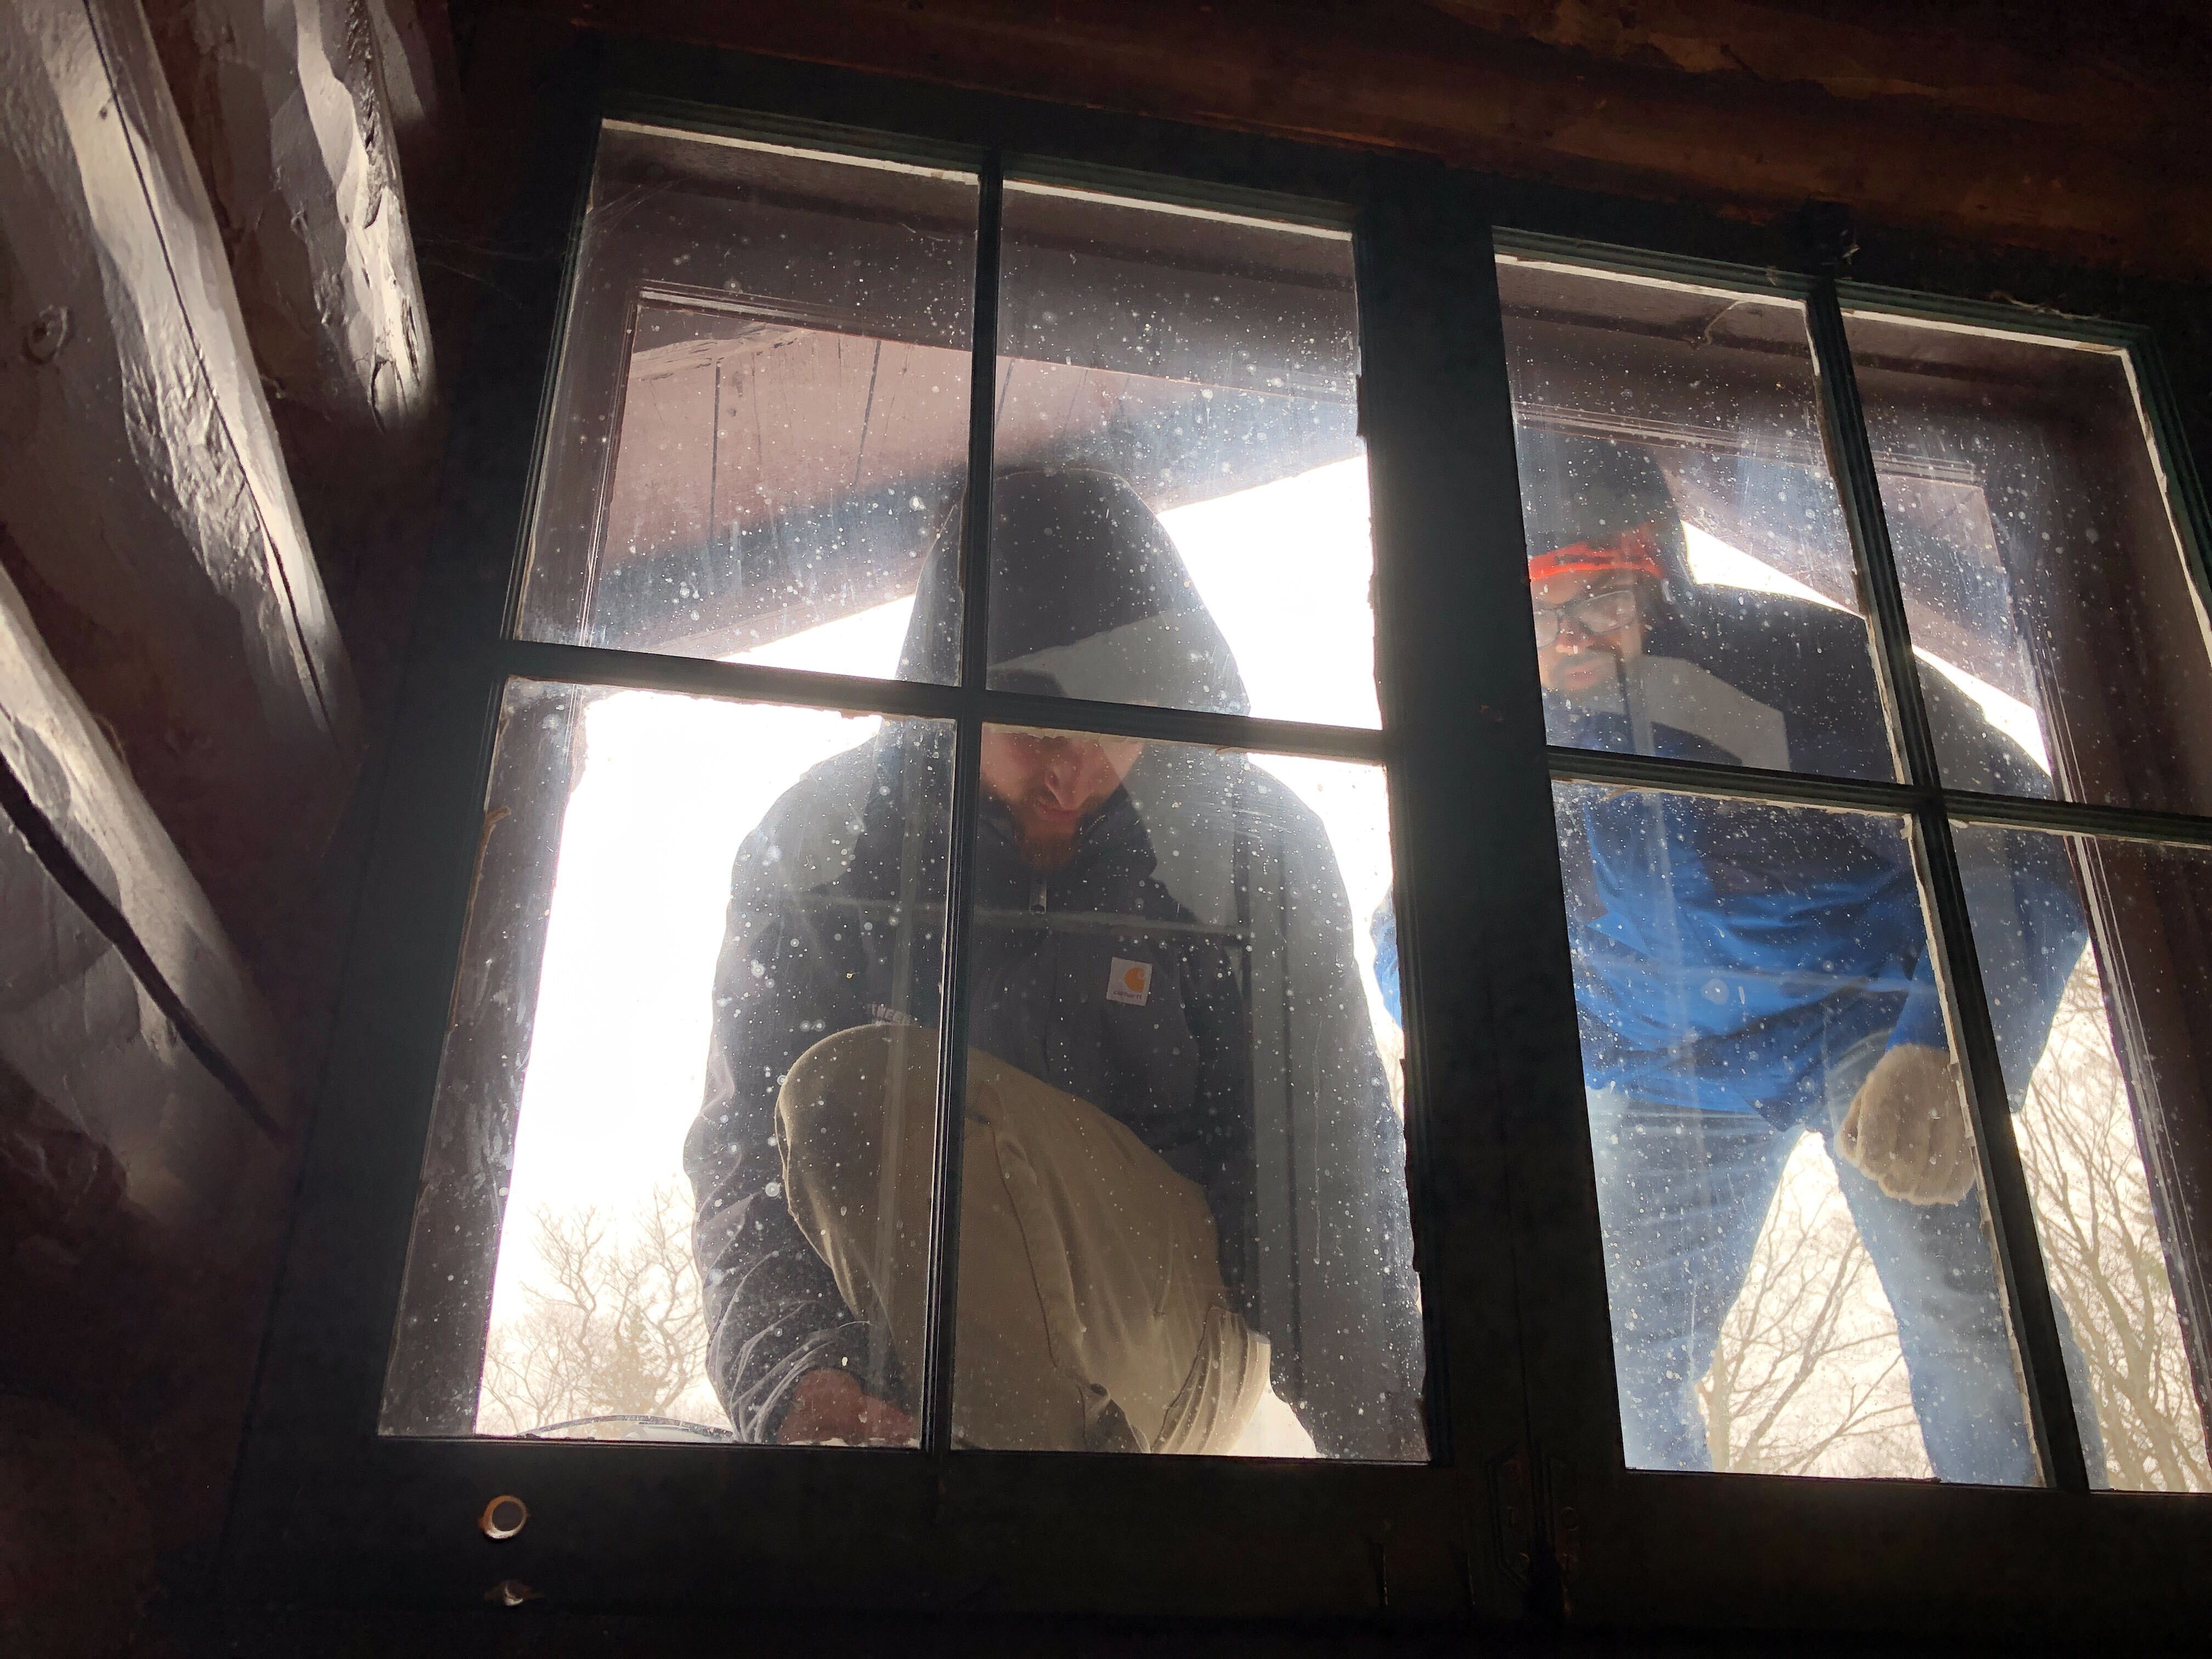
On Monday, April 25th, Martin and Jake began installing the camera on top of the Lodge’s roof to begin testing the camera outside. The temperature outside was about 60 degrees and the clear sky allowed the sun’s rays to get us in short sleeve shirts. A perfect day to conduct the demo.
When turning the camera on, the administration panel to control the camera’s settings did not appear. Confused, Martin connected a monitor to the Raspberry Pi to see if it is connected to the Wifi, only to find out that the Raspberry was not able to connect to the SD card to boot up (image below). Trouble shooting the SD card later shows that the SD card was dead or was not accessible when having another computer reading the card. Most likely the problem occurred between testing with the camera inside and making final adjustments to the platforms to contain plug. Martin now has to redo the software and all-sky application on the SD card. Lesson learned: always back-up the files incase there is a fail or corruption at any point of operation.

May 19th, 2022 Update
Since the error message on April 24th, Martin has taken the time to redo the software installation on a new SD card, back it up onto the company’s Google Drive, transfer the back up (image file) onto another SD card, and test both of them if they work with the camera. Both of them worked and on May 15th, Martin and Jake installed the camera back on the roof. It managed to update the live feed photo every 5 to 15 minutes, record a time lapse video, keogram, and a star trail that same night. Seeing the camera working and seeing a live feed photo gave a satisfying feeling for the KML team.

The project is not done yet. The team is now testing the camera to see how it handles the Michigan Spring weather and how the image quality can be improved to see the night sky clearer. Once we know camera past the testing phase and the team gets the desired image quality, it will be time to move the camera to the tower.
July 11th, 2022 Update
Since the last update, the camera has been updating the live feed 24/7 and uploading recorded time lapse videos, keograms, and star trails almost every night (there have been two days where it didn’t upload onto the database for unknown reason). Lately when trying to modify the camera settings remotely, Martin has trouble connecting his computer to the camera. It is unknown why. So he took down the camera from the roof today to troubleshoot it over the next few days and to modify the camera’s settings before repositioning back onto the roof. He will post an update on his work and when the camera is back in operation.
December 29th, 2022 Update
As many of you may have noticed, no live feed from the all-sky camera has been up since July this year, nor any additional updates on the project page. Martin was not able to work on the camera as promised due to the lodge staff becoming very busy with events and activities all Summer and Fall. With the lodge activities slowing down a bit (beside shoveling and snow blowing snow frequently), Martin is getting back to working on the camera. Now he wants to explain the entire situation on the camera and what his focuses are for the camera now.
Problem #1 – Not being able to access the camera’s WebUI to change the settings remotely: One of the camera’s features is to be able to access the camera’s WebUI to change the settings like exposure time through any computer through the same network that the camera is connected to. This reduces the need to take down the camera to connect it to hardwares to work onit. The problem that Martin has been encountering for a while is that Martin has to be on the EXACT part of the network to access it. For more context, there are different “sections” of the network across the lodge’s property to guarantee connection for staff and visitors. What Martin is finding is that if he was on a different network “section” than the “section” the camera is connected to (even though it is the same network with multiple “sections”), the WebUI would not be reachable. If his computer is connected to the same “section” as the camera’s, then it is reachable…sometimes. Even when Martin is right next to the camera with his lap, he would still not be able to access it.
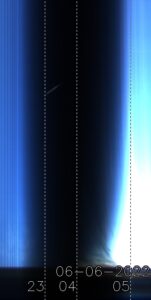
Problem #2 – Timelapse videos’ recording times are not consistent and have large time gaps: In the early period of operations, the camera would record the entire night from dusk to dawn. Over time the time lapse videos would get shorter to the point where it is not consistent with its previous videos. For example, a video would record a time from 8pm to 7am, while another video would record a time from 8pm to 9pm and then skip to 7am. It randomly does that and Martin does not fully understand why that is the case. You could see this in the keogram of June 5th where there is a 5 hour gap between 23 hours and 4 hours when there should be no gap at all. He believes that when the Wifi cuts out for a period of time at night, the Raspberry Pi that powers the camera and is connected to the Wifi would lose connection for a while until it connects back onto the Wifi to resume recording. That is not desired as it also affects keograms and star trails that rely on the long time period of the timelapse videos. Astronomers who rely on these kinds of files would not have accurate data to rely on to understand the Keweenaw’s dark sky and Aurora chases who want to see how intense the Northern Lights were during previous nights.
Problem #3 – Figuring out how to power the camera from the tower (proposed location for the camera): The testing site for the camera was on top of the lodge near a standard plug outlet to power the device. It was reachable with an extension power cord. Now the original placement for the camera would be near the top of the internet tower as it is above tree level and has a clear sky view. At that height, an extension power cord would not be long enough and trying to use a very long power cord is a task in itself. Martin learned that distance affects power due to higher resistance and more amperage needed to overcome the resistance. Someone later suggested using a Power over Ethernet module to power the Raspberry Pi and the camera as one does not have to worry about distance affecting the delivery of power that much. Sure enough, Martin found PoE HATs made for the Raspberry Pi and ordered one very recently to implement it with the Raspberry Pi.
Those three are the primary problems that Martin is encountering with the camera. Moving forward, Martin got a better understanding on what he needs to focus on. Below are the upcoming focuses that either relate to one of the problems above or improves design of the set-up.
Upcoming focuses:
#1 Test out whether the WebUI is accessible from any part of the lodge (without the PoE first then with the PoE)
#2 Understanding the settings in the WebUI for optimal performance and recordings
#3 Clean up the camera casing
#4 Move the camera from the top of the lodge to the tower once everything is working and prepped
That is the update on the camera and why it has been off for the past four months.
April 13th, 2023 Update
Big progress has been made over the past few weeks. In the previous update, Martin mentioned testing the PoE (power over ethernet) hat , testing the accessibility to the WebUI, cleaning the camera case, and moving the camera to the optimal position for dark sky viewing. Here is a rough timeline outlining the major progress that were made:
- March 20th, 2023 – Reestablishing the connection between the Raspberry Pi and the KML’s website database: Back in February this year when Martin was testing the WebUI’s accessibility (without the PoE), there was a point where no videos and images were being uploaded to the website’s database. He found that the website’s IP address was changed after some updates to the business’s website database, while the Raspberry Pi was still connected to the old database. It had to be reconnected to the new database manually; updating the connection details through the Pi’s terminal. That did the trick.
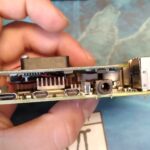
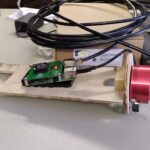
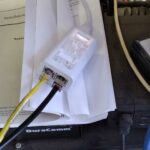
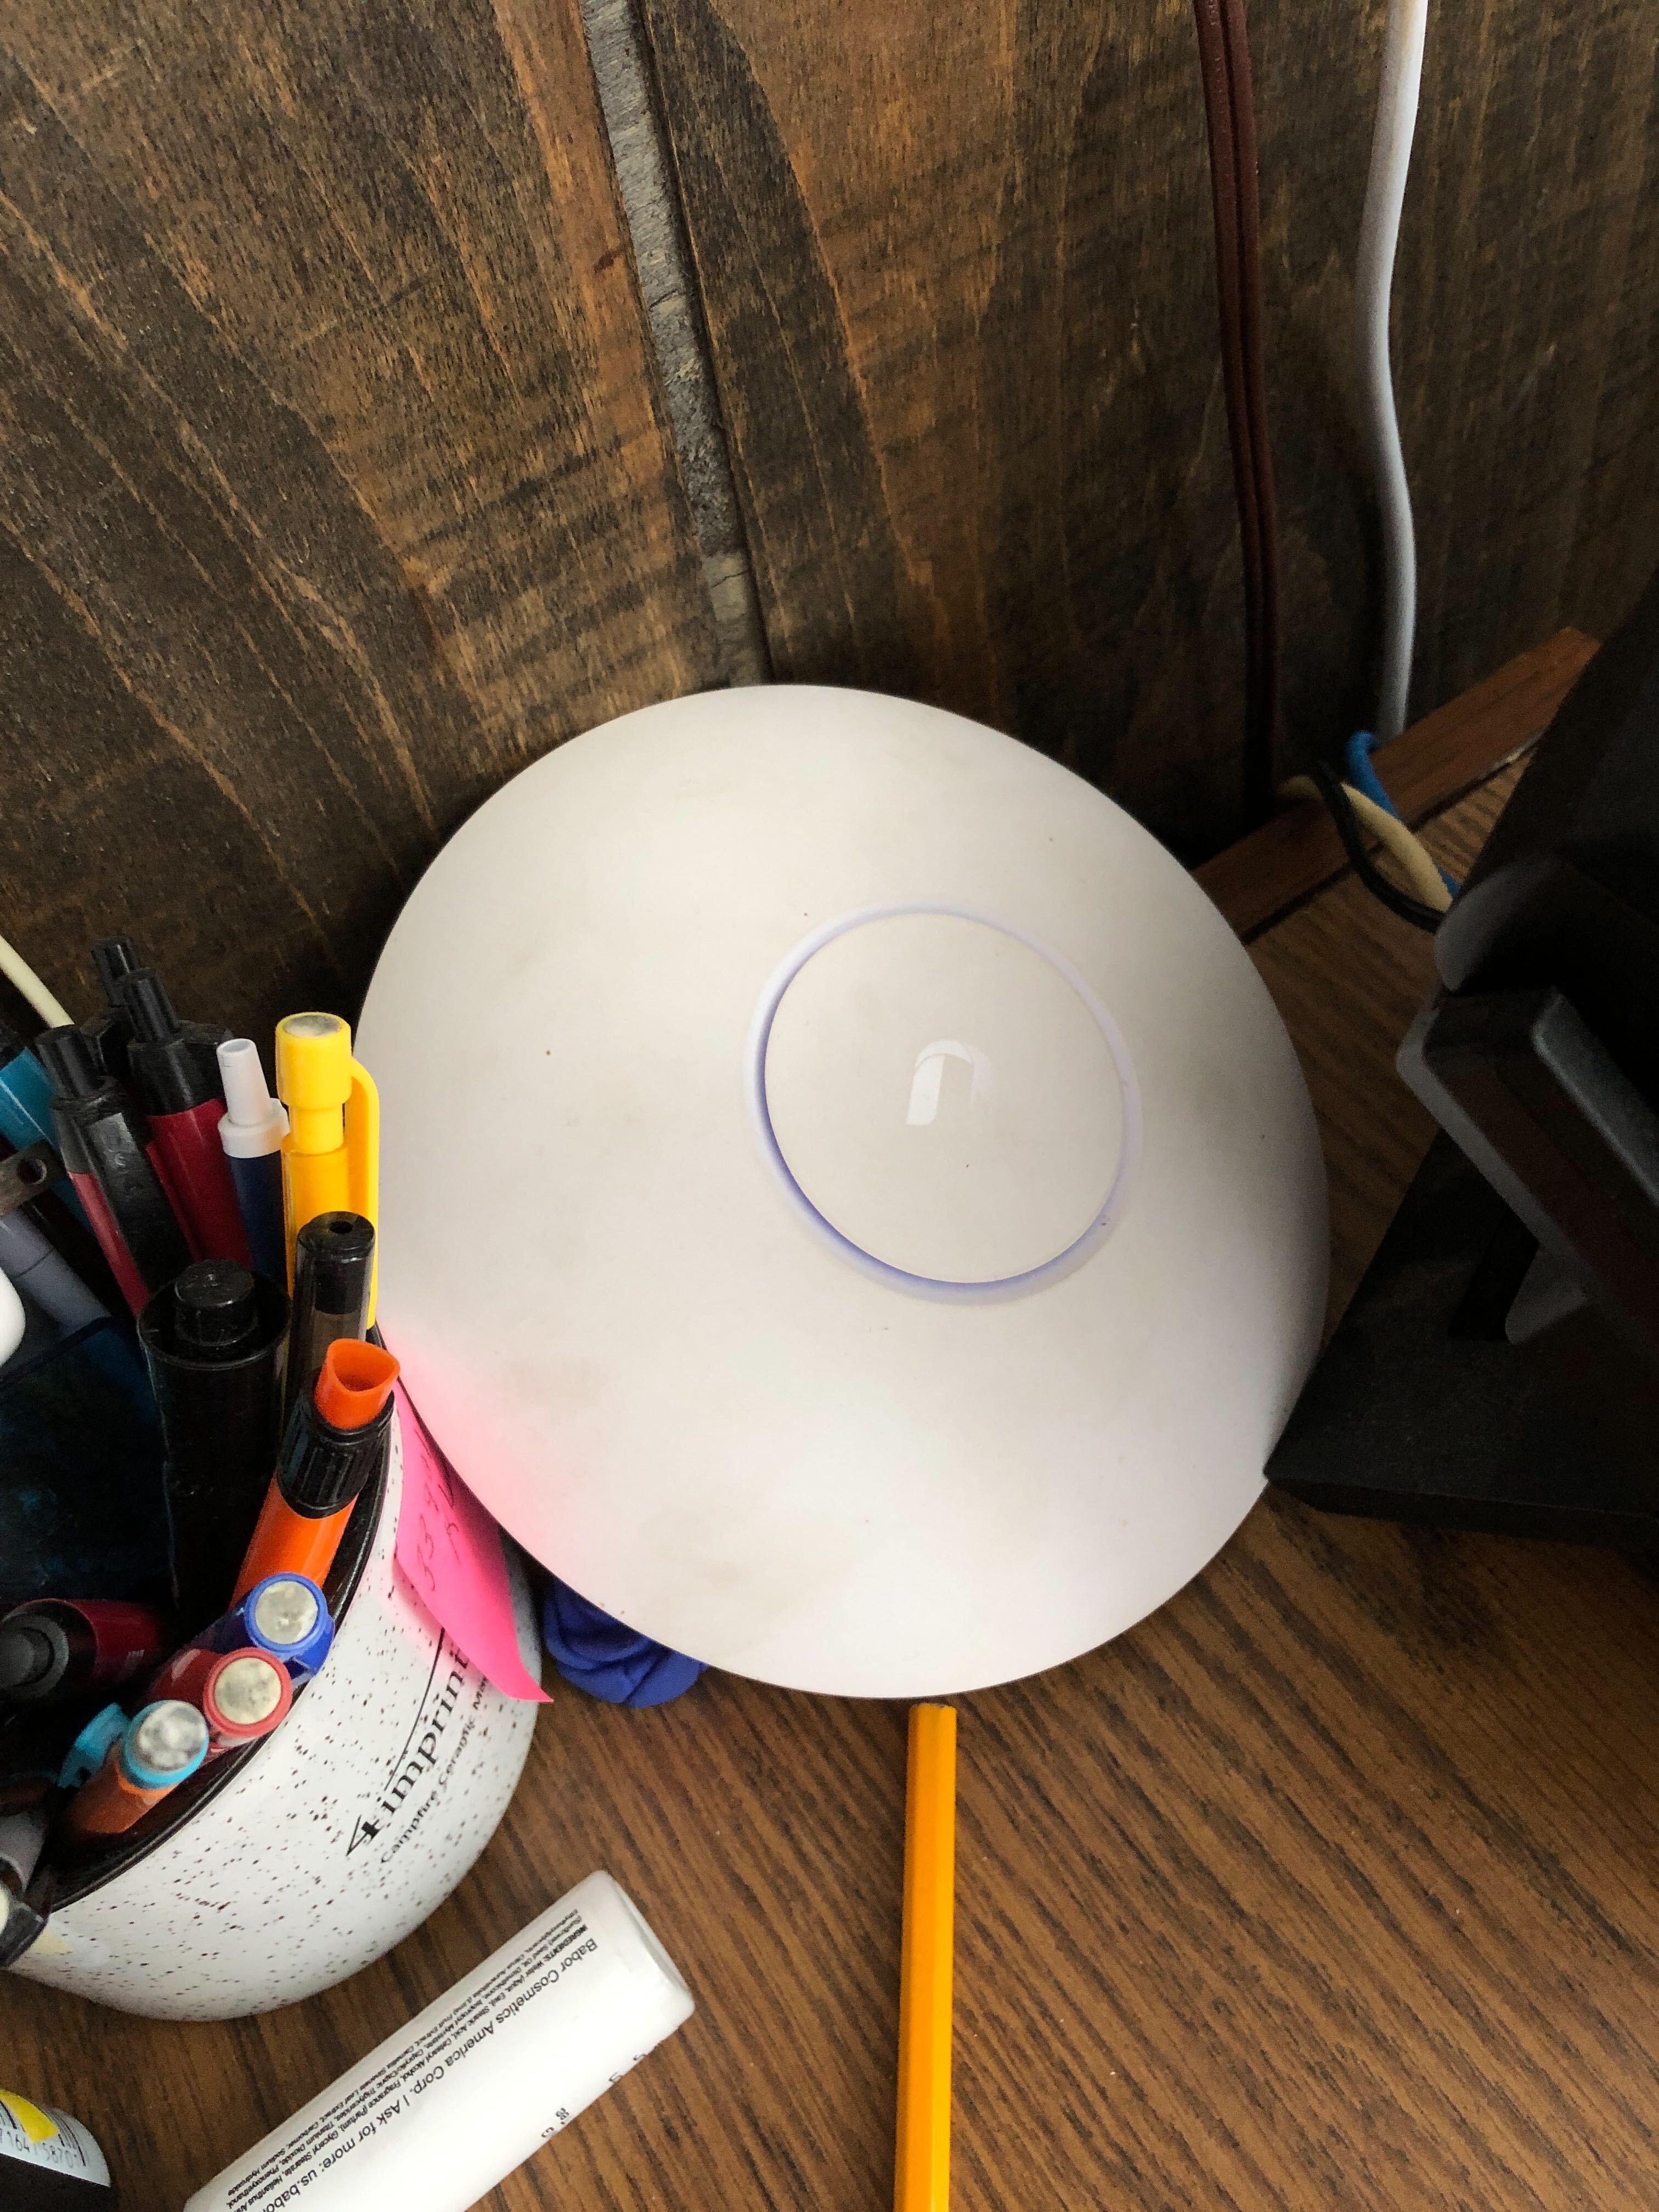
- March 23rd, 2023 to March 26th, 2023 – Testing out the Raspberry Pi PoE Hat: As mentioned in the December 29th, 2023 Update post, there was a barrier of being able to supply power to the camera from a long distance. So Martin began installing the Raspberry Pi PoE Hat that he ordered a while back it to the Raspberry Pi 4. He found that the three heat sinks of the Pi had to be removed in order to fit properly on top. After removing the heat sinks, Martin got the appropriate power-enabled ethernet switch to supply the necessary voltage per requirement by the manufacturer (the ranging being between 37 and 57 volts). Once it was in place, he tested the new set-up at different locations over a period of days to see how it performs. Fair to say it works.
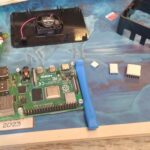
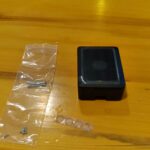
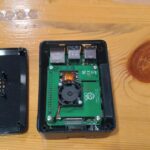
- March 27th, 2023 – Purchasing a new Raspberry Pi case: The original Raspberry Pi 4 case does not accommodate the PoE hat. So Martin looked into new cases that are able to accommodate the hat while fitting in the current camera case. He found several cases that looked promising: the Modular Raspberry Pi 4 Case, the HighPi Pro Case, and the SecurePi Case. He ended up choosing the Modular Raspberry Pi 4 due to its size. Once the case arrives, he will work on rearranging the layout to have the case in place.
The next steps will be getting the new case installed and reassembling the whole set-up to then be placed at its final location. Once it is set-up and the live-feed works, it will be posted on the website for the public to view.
May 12th, 2023 Update
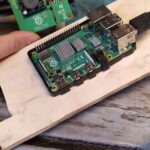
The camera is back up and running again! After getting the new Raspberry Pi case earlier last month, reassembling the set-up (with the Pi case just fitting in the camera case), and positioning the camera just before a mini-snow storm on the first day of the Upper Peninsula Dark Sky Festival (an event to promote International Dark Sky Week and take the time to appreciate the dark skies), the camera is now collecting videos and images once again. Martin documented the reassembling process as shown in the pictures below.

To those who checked out the All-Sky Camera last year, you may have noticed that it is currently in the same position when we first conducted our first test on April 27th, 2022 versus on top of the internet tower mentioned in the beginning of the project page. The reasons why it was decided to put it back on the Lodge’s roof were because 1) it easier to access the camera for maintenance (not having to worry about having to deal with climbing up the tower when we don’t have the equipment or experience), 2) not have to worry about getting not enough cable length to connect the PoE Hat and the ethernet port), 3) the camera would be stationary versus it swaying back and forth on the top of the tower (there are no support cables to hold it in place), and 4) has less obstructions taking up the central view point (trees and artificial light would be off to the side).


For a while, it has been very cloudy as the Lodge was still encountering cold temperatures and even a few snow falls in early Spring. It started to clear in the evening of May 7th, 2023 when the Spring warmth finally arrived. Martin checked if the camera was able to capture some stars with the current camera settings and found it did. Below are three time lapse videos with its associated star trail images. You could see the bright stars and a couple of dim stars.
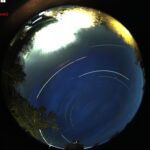
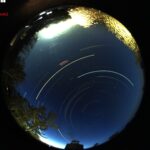
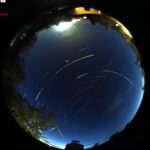
The next step is to play around with the camera’s settings till we have a very clear and detailed view for the public viewing and recordings. In the meantime, enjoy seeing the stars through the webcam.
july 1st, 2023 Update
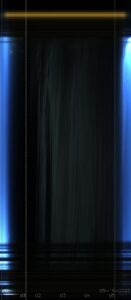
On May 19th, the Northern Lights were visible from the Lodge. Martin checked the All-Sky Camera the next day to see if it was able to record the Northern Lights. Sure enough, it did! In the time lapse video below, you could see the green Northern Lights located at the bottom of the video (which is North). This is going to be one of many that will be recorded by the camera. We look forward to seeing those through the All-Sky Camera.
December 14th, 2023 Update
The All-Sky Camera has made it through the spring, summer, and fall seasons this year. As the camera goes through the winter season, Martin has started working on collecting the best time lapse videos and creating a video playlist for the public to view on Youtube. At this moment, the videos are unlisted for the public, but progress is being made to have the videos to be the style that we want.
The camera has been performing well so far. Even when the temperature is just below freezing, it does not deter the camera’s performance. The ultimate test would be how the camera performs under extreme winter conditions and whether the snow will block the camera’s view of the dark sky. We shall see.
While Martin works on the videos and monitoring the camera throughout winter, here are some of the best videos that were selected.
[ Post Updated on December 14th, 2023 ]