I had preconceived the image Moon Over the Lodge the morning of the day I took the image on Saturday, March 19, 2022. I was talking with a fellow Lodge team member and they were telling me about where the moon rose the night before when it was full on March 18, 2022. I visualized where the moon would be over the Lodge and thought it would be a great photograph. I was going to be guiding a moonlit snowshoe hike that evening and the weather report was stating clear skies. It was all aligning for a good chance at a great shot of the moon over the Lodge.
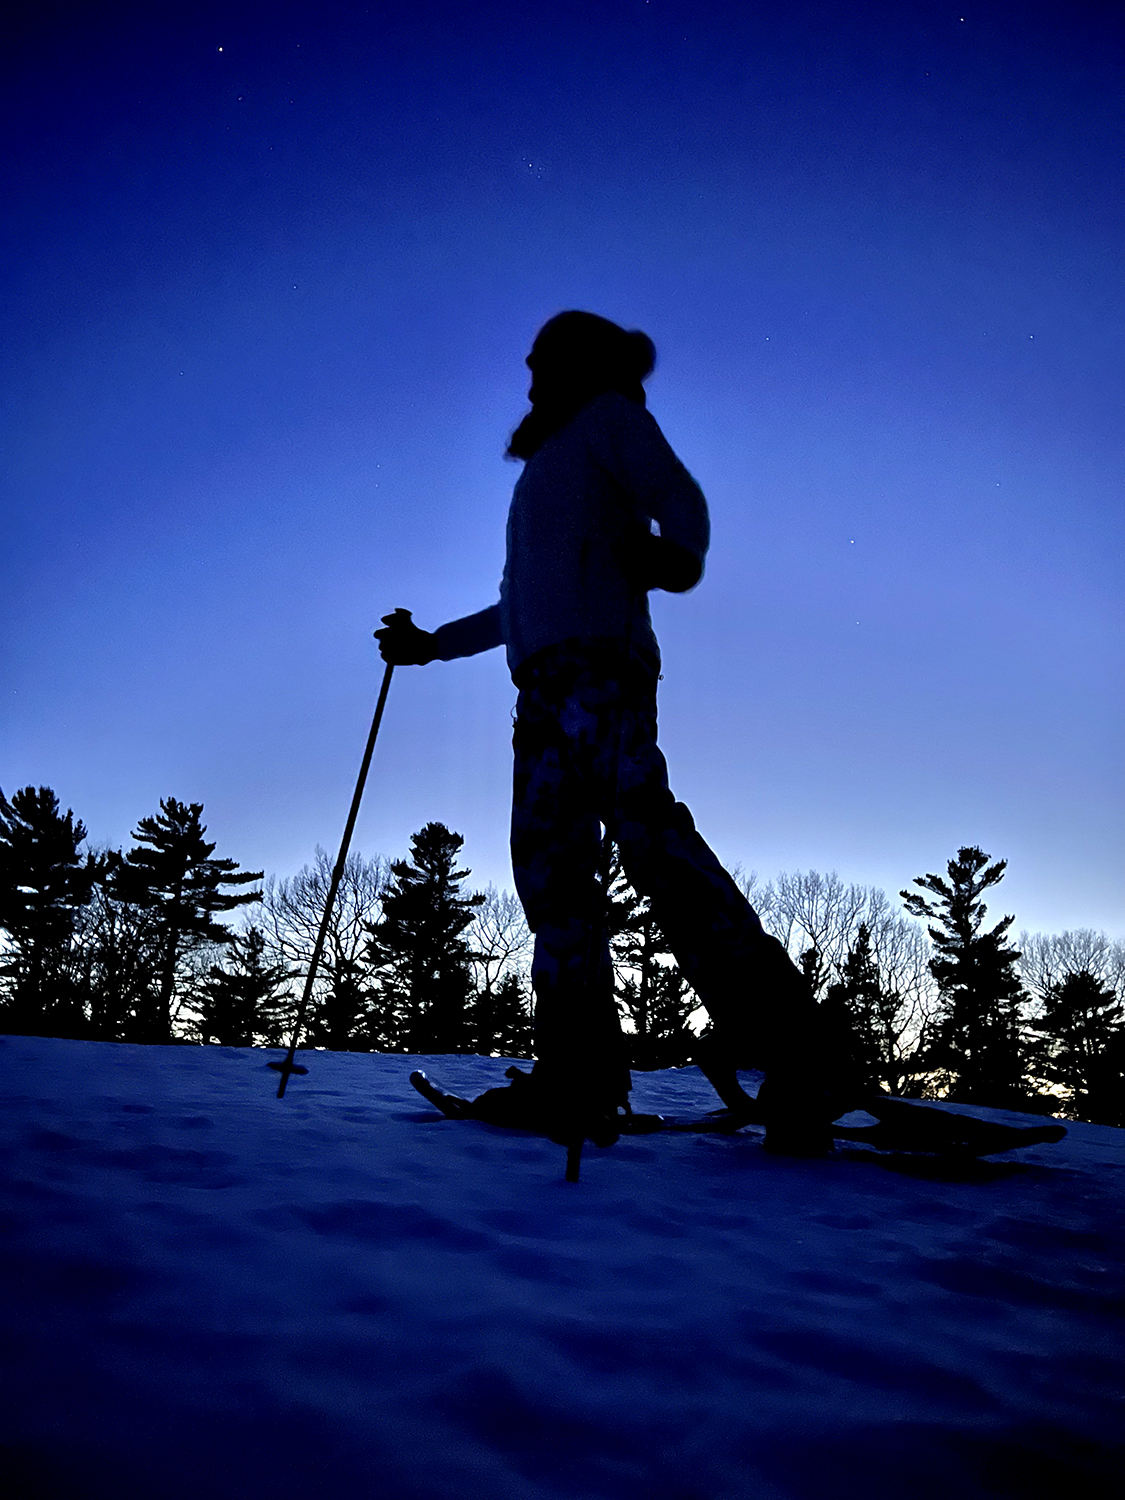
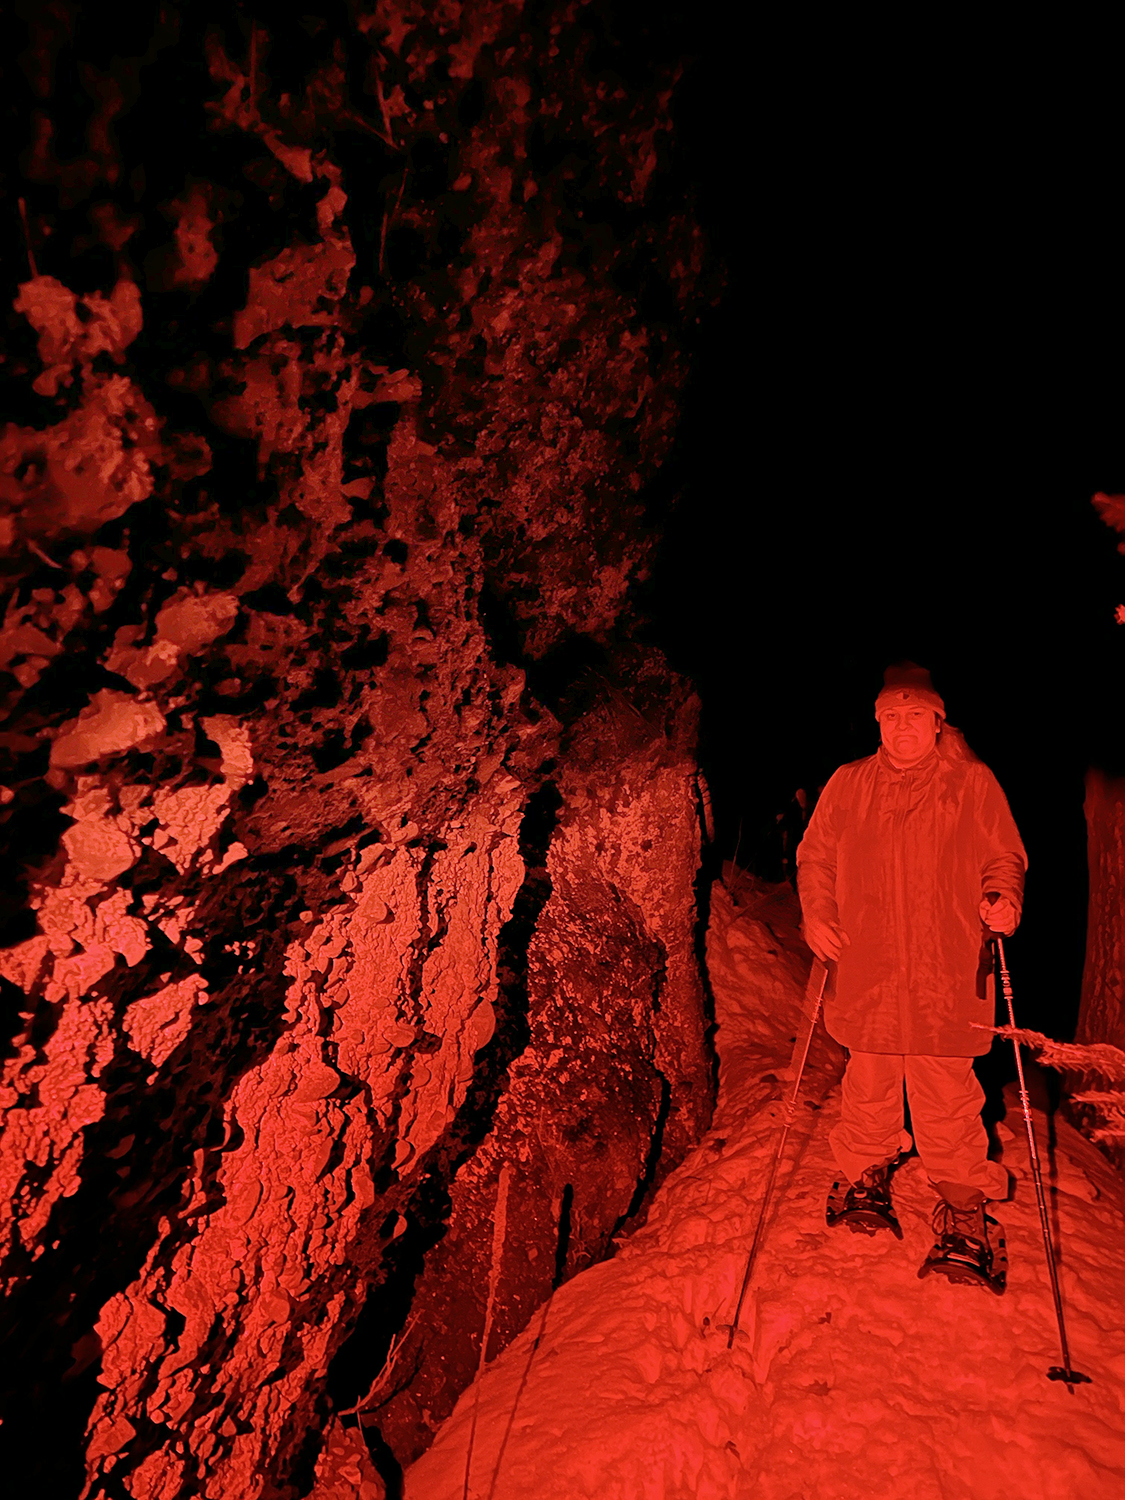
The snowshoe hike had its challenges because the moon was not going to rise over the hill until about 10:00 pm, while the snowshoe hike started at 8:45 pm. Our group used red light flashlights to navigate the slippery trail in darkness. The reason the red flashlights are recommended when participating in nighttime activities is because red light does not impair night vision as much as other colors of light; so they can be used for short periods of time when needed and participants can then resume the activity without artificial light with minimal impact to their overall vision. The group took its time working its way around the 1.5 mile loop. It was a clear, warm night where the stars shined bright.
The hike finished just as the moon began to rise over the Lodge. I ran to my car and grabbed my professional photography gear. I shoot with a Canon 5D Mark IV and I only use Canon “L” lenses and chose the 24-70mm (f2.8) zoom lens. I noticed a large unexpected cloud formation blowing over the Lodge so I rapidly climbed the snow banks and attached my camera to the tripod. All pro photographers use a tripod to capture long night exposures. I actually leave my tripod base-plate on my camera all the time so I can quickly attach my camera to the tripod if need be.
One of the issues I was taking into account was the fact that the Clubhouse is usually very dark, in the last year we have changed all of the outside lighting around the Lodge to be dark sky compliant. The Keweenaw Mountain Lodge has been working with the International Dark Sky Association to establish the Keweenaw Dark Sky Wilderness. I knew the Lodge would be “dark” but I had a few tricks up my sleeve to make the Lodge appear well “lit up.” The first was that I was going to take a long exposure that would let what little light was available brighten the whole scene. The second was that the snow on the ground would reflect this light making the Lodge look even more brilliant and “uplight” the big pine. The final trick was the moon itself, I wasn’t sure how much it would brighten the scene but I was curious to find out.
I was watching the clouds quickly moving in and was afraid they would cover the moon soon. I immediately started shooting some images. I use a 2 second timer when shooting on a tripod which gives the camera enough time to stop shaking after I push the button. I chose an ISO of 400 thinking this would give me enough light to get a faster shutter speed and still provide a “non-grainy” image. The first image’s exposure was 20 seconds at f8. I then shot another at 13 seconds at f8. I was a little concerned with these long-of-exposures that the clouds would show some movement and not be sharp. I then opened the aperture up 2.8 which gave me a fast 1.6 second exposure. This seemed to stop the cloud blur. I then took about 5 more shots with different settings.
For me a big part of the process is done in the raw converter of Photoshop. I shoot all my images in the RAW format, which gives me the most leeway in getting details out of the highlights and shadows.

Every RAW conversion is different – for me this is a “visual process” and lets my style as a photographer shine through. For this image I opened up the shadows and turned down the highlights. I shifted the color temperature slightly and added just a few points of saturation. When comparing the photos before and after conversion, you can notice how much brighter the shadows of the clouds are in the latter image. I also slightly increased the exposure.
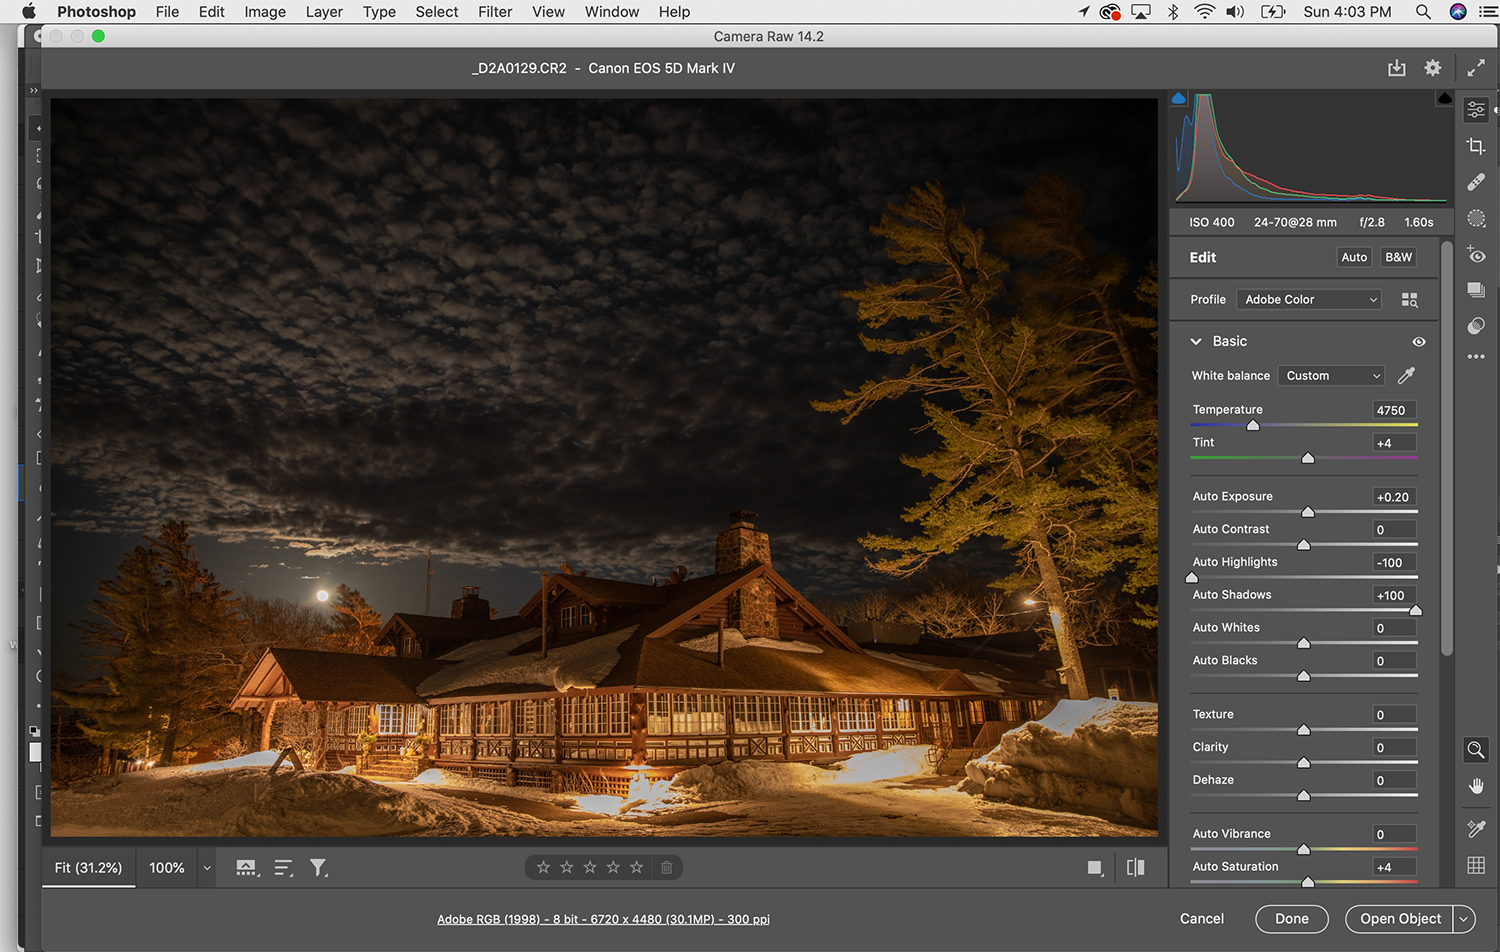
Image after Raw Conversion:

After the RAW conversion the file opens in Photoshop, I added three layers.
- A saturation layer where I decreased just the yellow
- A selective color layer where I shifted the color of the yellow
- A curves layer where I added contrast.

The final step was adding some texture to the snow banks under the lights where the highlights were blown out (meaning that the highlights were so bright that details were difficult to see). I did this by cloning parts of the other snow bank with the clone tool. The final image is a dynamic moonlit shot of the Clubhouse. The long exposure let the Lodge seem brighter than it really is and the moonlit clouds captured a dynamic, fleeting moment that is now forever documented.
To learn more about night photography please join one of our photo workshops; the next one is on April 2, 2022. Stargazing: Northern Lights Photography Workshop is instructed by Nathan Bett.

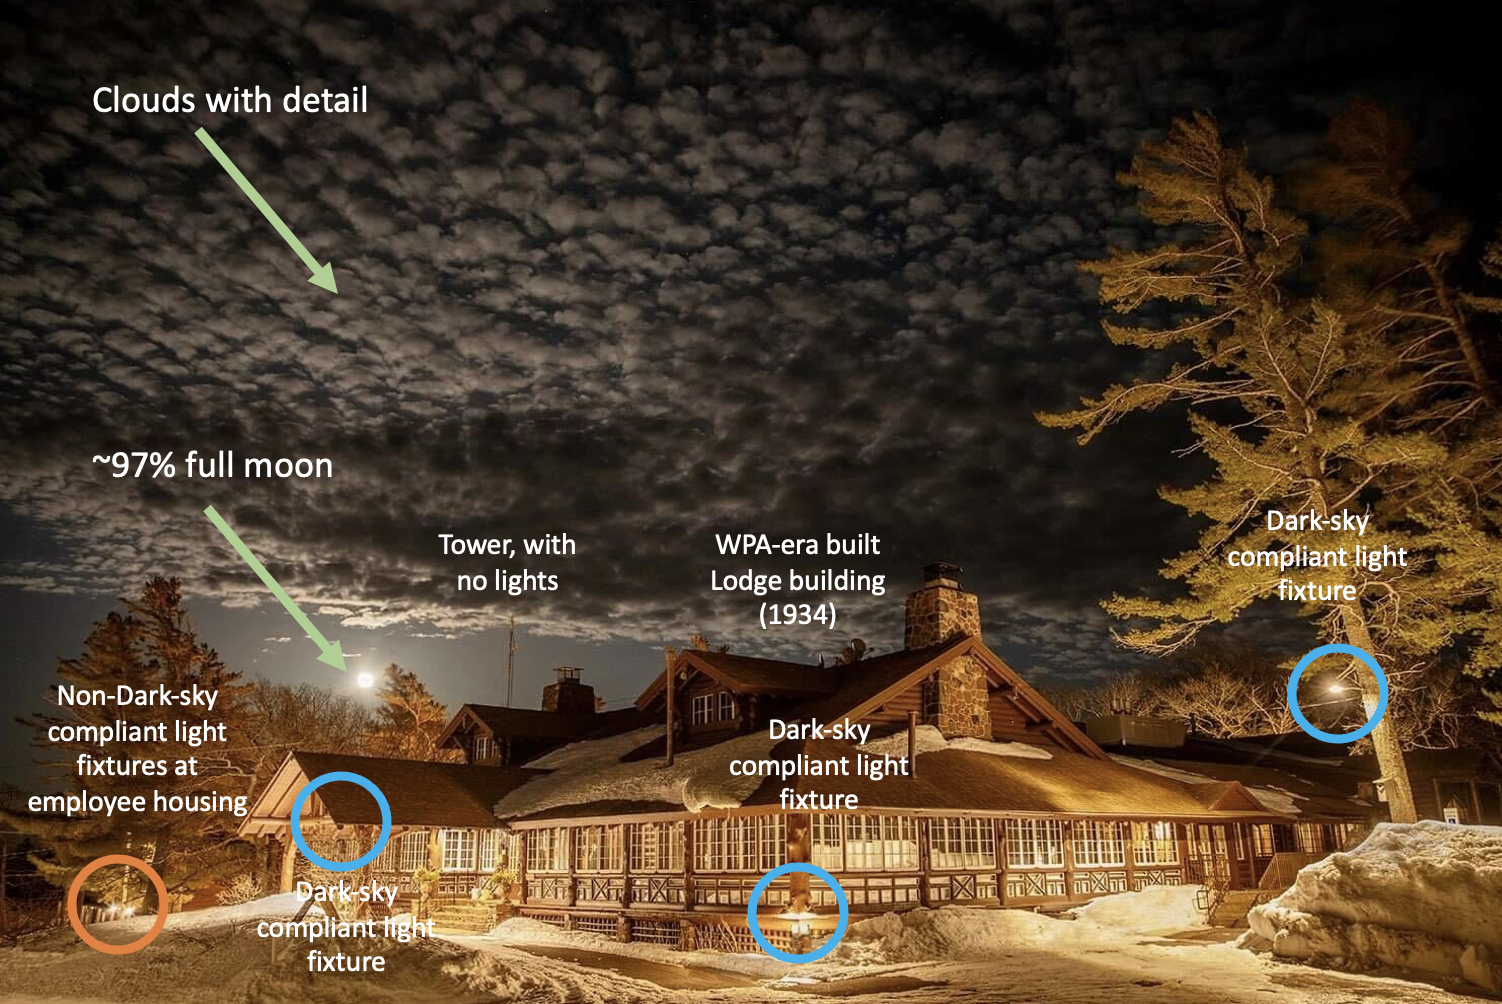
Below shows the light fixture changes that have been made around the lodge building to be dark-sky compliant.

Chris Guibert: I have a strong passion for all things outdoors and have worked as a tour guide and professional photographer for the last twenty five years. As the Lead of Outdoor Activities at the Mountain Lodge I want make sure you and your family have a great experience while staying and playing. Please feel free to ask me any questions about the trails, regional activities and local secrets.